package com.jproject.mysturdy;
import androidx.appcompat.app.AppCompatActivity;
import android.app.LauncherActivity;
import android.graphics.Color;
import android.graphics.drawable.ColorDrawable;
import android.os.Bundle;
import android.util.SparseBooleanArray;
import android.view.View;
import android.widget.Adapter;
import android.widget.AdapterView;
import android.widget.ArrayAdapter;
import android.widget.EditText;
import android.widget.ListView;
import android.widget.Toast;
import java.lang.reflect.Array;
import java.util.ArrayList;
public class MainActivity extends AppCompatActivity {
ArrayList<String> Items = new ArrayList<String>();
ArrayAdapter<String> Adapter;
ListView list;
@Override
protected void onCreate(Bundle savedInstanceState) {
super.onCreate(savedInstanceState);
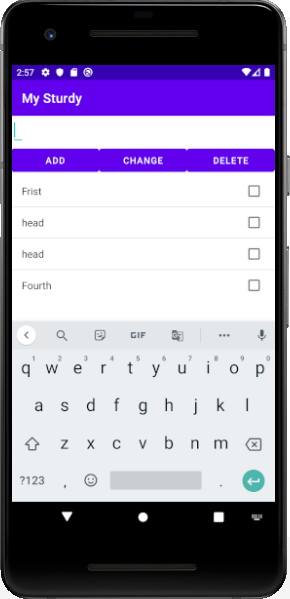
setContentView(R.layout.activity_main);
Items.add("Frist");
Items.add("Second");
Items.add("Third");
Items.add("Fourth");
Items.add("Fifth");
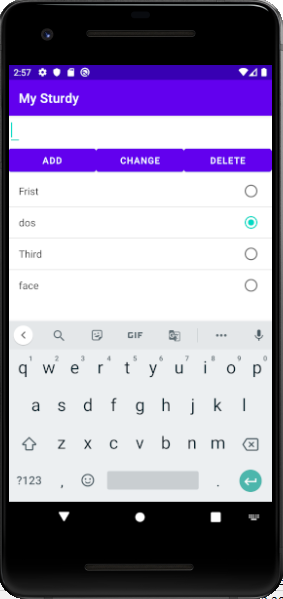
Adapter = new ArrayAdapter<String>(this, android.R.layout.simple_list_item_multiple_choice, Items);
list = (ListView) findViewById(R.id.list);
list.setAdapter(Adapter);
list.setChoiceMode(ListView.CHOICE_MODE_MULTIPLE);
}
public void mOnclick(View v) {
EditText ed = (EditText)findViewById(R.id.newitem);
int pos;
String text;
SparseBooleanArray sb;
switch(v.getId()){
case R.id.add:
text = ed.getText().toString();
if (text.length() != 0){
Items.add(text);
ed.setText("");
Adapter.notifyDataSetChanged();
}
break;
case R.id.change:
sb = list.getCheckedItemPositions();
text = ed.getText().toString();
pos = list.getCheckedItemPosition();
if (sb.size() != 0){
for (int i = list.getCount()-1;i>=0;i--){
if(sb.get(i)){
Items.remove(i);
Items.add(i,text);
}
}
list.clearChoices();
ed.setText("");
Adapter.notifyDataSetChanged();
}
break;
case R.id.delete:
pos = list.getCheckedItemPosition();
sb = list.getCheckedItemPositions();
if (sb.size() != 0){
for (int i = list.getCount()-1;i>=0;i--){
if(sb.get(i)){
Items.remove(i);
}
}
list.clearChoices();
Adapter.notifyDataSetChanged();
}
break;
}
}
}
<?xml version="1.0" encoding="utf-8"?>
<LinearLayout xmlns:android="http://schemas.android.com/apk/res/android"
xmlns:app="http://schemas.android.com/apk/res-auto"
xmlns:tools="http://schemas.android.com/tools"
android:orientation="vertical"
android:layout_width="match_parent"
android:layout_height="match_parent"
tools:context=".MainActivity">
<EditText
android:id="@+id/newitem"
android:layout_width="wrap_content"
android:layout_height="120px"
/>
<LinearLayout
android:orientation="horizontal"
android:layout_width="match_parent"
android:layout_height="wrap_content">
<Button
android:id="@+id/add"
android:layout_width="8px"
android:layout_weight="3"
android:layout_height="wrap_content"
android:text="add"
android:onClick="mOnclick"
/>
<Button
android:id="@+id/change"
android:layout_width="8px"
android:layout_weight="3"
android:layout_height="wrap_content"
android:text="change"
android:onClick="mOnclick"
/>
<Button
android:id="@+id/delete"
android:layout_width="8px"
android:layout_weight="3"
android:layout_height="wrap_content"
android:text="delete"
android:onClick="mOnclick"
/>
</LinearLayout>
<ListView
android:id="@+id/list"
android:layout_width="match_parent"
android:layout_height="500px"
/>
</LinearLayout>
'IT 통신 수학 과학 > 자바 안드로이드' 카테고리의 다른 글
| 안드로이드 kotlin view binding (0) | 2021.10.18 |
|---|---|
| [Android/Kotlin] DataBinding(데이터바인딩) (0) | 2021.03.20 |
| Android Studio : WebView 구현 오류 문제. (0) | 2021.02.22 |
| 안드로이드 파일 입출력 및 삭제 (0) | 2020.12.16 |
| AdapterView2 (0) | 2020.11.01 |
| ArrayAdapter (0) | 2020.10.28 |
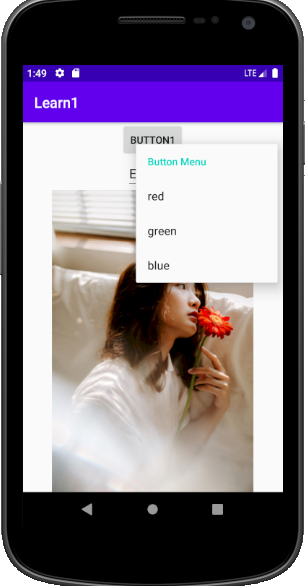
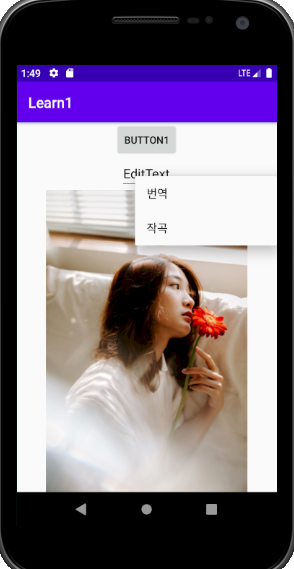
| Android popmenu (0) | 2020.09.08 |
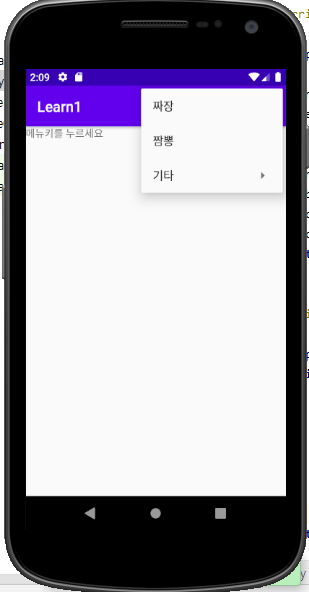
| 컨텍스트 메뉴 (0) | 2020.09.06 |